full guide

Level 116

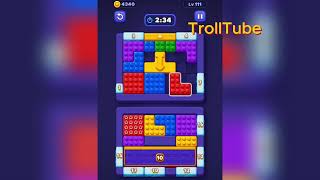
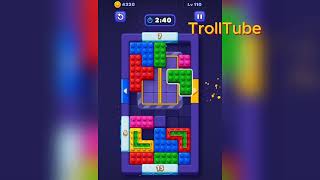
Block Out Level 116 wraps perimeter arrows around a central orange-bordered `6` pocket β€” the arrows are live exits, not decoration. A bottom color-counter tray tracks progress, and the side arrows must open in sequence to avoid trapping...

hard

ios / android Β· current iOS and Android catalog checked 2026-08-03

Purple Blue Green Red Cyan Yellow Orange

Confirm these board landmarks

Block Out Level 116 wraps perimeter arrows around a central orange-bordered `6` pocket β€” the arrows are live exits, not decoration. A bottom color-counter tray tracks progress, and the side arrows must open in sequence to avoid trapping the white-bordered purple square in the center-right. Force the purple square through while the bottom counters are still high and the tray seals shut.

  • Block Out Level 116 wraps perimeter arrows around a central orange-bordered `6` pocket β€” the arrows are live exits, not decoration.
  • A bottom color-counter tray tracks progress, and the side arrows must open in sequence to avoid trapping the white-bordered purple square in the center-right.
  • Force the purple square through while the bottom counters are still high and the tray seals shut.
Compare with the documented source board

My board is different Compare with source

Video walkthrough

Quick tips

  1. The bottom counter tray is a seal β€” wait until the center-right purple highlight clears.
  2. Keep the cyan `12`/`10` pair parked until the middle channel actually widens.
  3. Think in chain clears. The best move is the one that sets up the next two moves, not just the quickest current match.

Step-by-step solution

Step-by-step solution

  1. 1

    Move 1

    Peel the top-left blue `8` and the green top cluster without touching the central orange-bordered `6` pocket.

  2. 2

    Move 2

    Slide the red left-arrow column down and clear the bottom-left red `11` tile.

  3. 3

    Move 3

    Feed the cyan `12` and paired `10` tiles through the bottom center once the middle channel opens.

  4. 4

    Move 4

    Use the highlighted white-bordered purple square in the center-right to unlock the blue right-arrow exit.

  5. 5

    Move 5

    Close the bottom-tray blue `10`, `8`, and `4` counters before spending the purple `7` pair.

  6. 6

    Move 6

    Finish with the last green 1x1 and the remaining perimeter arrow exits until the 6x6 grid empties.

Common failure points

Spending the bottom counter tray before the center-right purple highlight clears β€” this seals the blue right-arrow exit.

Feeding the cyan `12`/`10` pair too early while the central `6` pocket is still boxed in.

Sources

Sources

Verification status: source verified. Solutions are matched to the source board before publication.

FAQ

Why might my Level 116 board look different?

Game version, platform or staged rollout differences can change a board layout.

Should I use a booster?

This Variant records booster use as unknown. Match the board before treating that note as applicable.