full guide

Level 125

Block Out Level 125 is a fast U-frame board where a bottom launcher row feeds blocks upward into a U-shaped gap. The side arms must thin to the blue `6` and `4` tiles before the launchers can fire β€” otherwise the gap overflows. Break tho...

easy

ios / android Β· current iOS and Android catalog checked 2026-08-03

Yellow Green Red Orange Cyan Blue Purple

Confirm these board landmarks

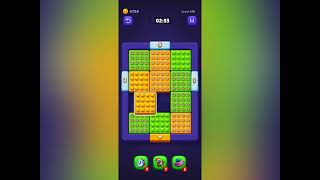
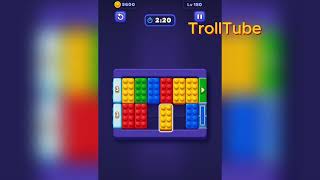
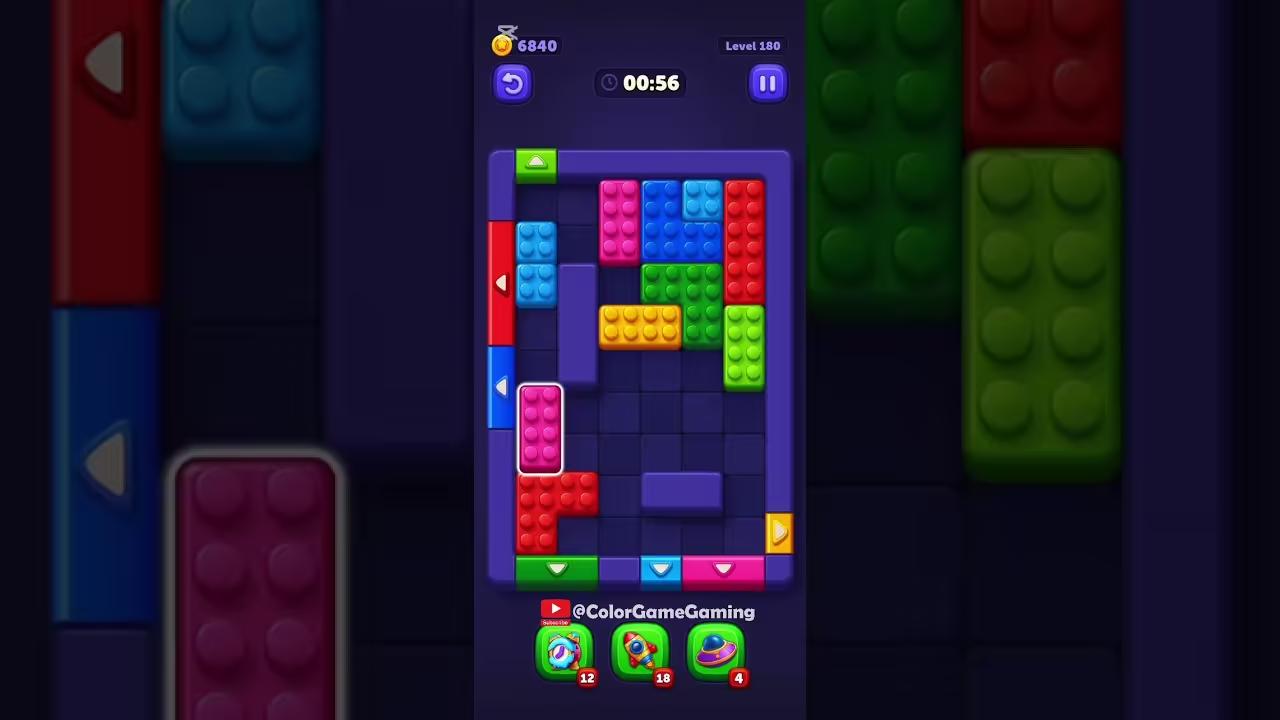
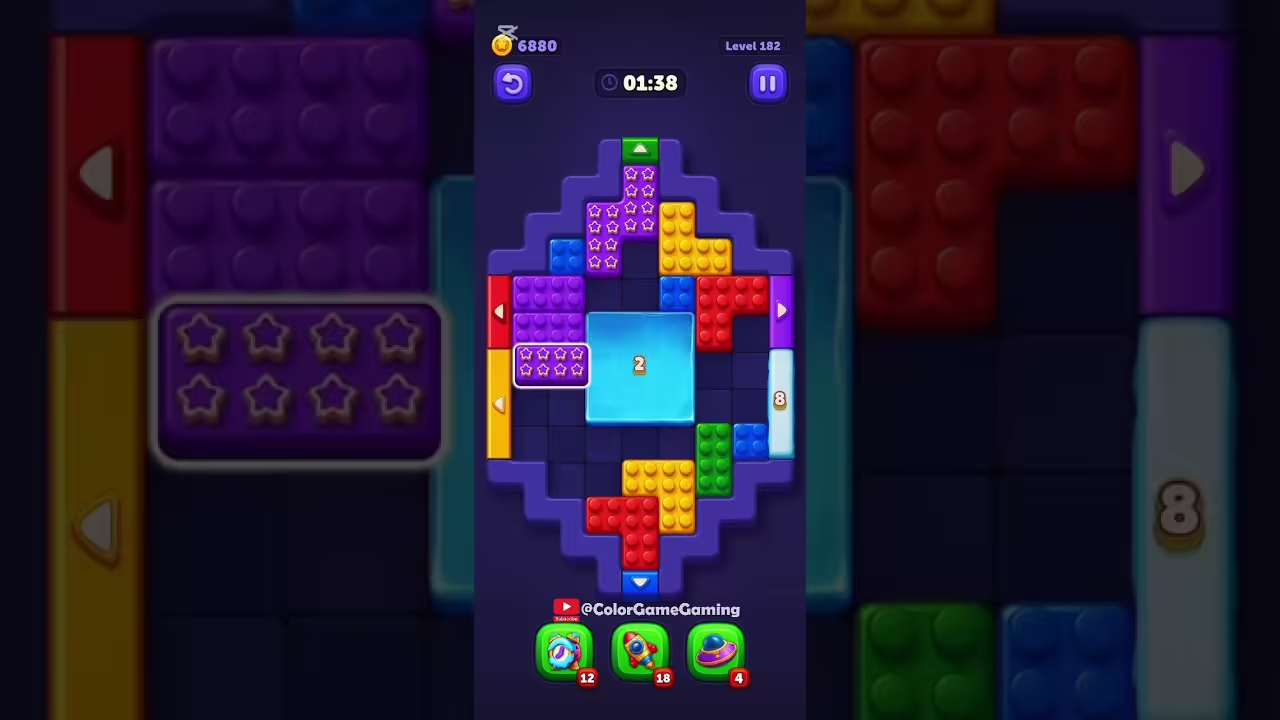
Block Out Level 125 is a fast U-frame board where a bottom launcher row feeds blocks upward into a U-shaped gap. The side arms must thin to the blue `6` and `4` tiles before the launchers can fire β€” otherwise the gap overflows. Break those counters, then spend the launcher row for a PERFECT clear. The white `9` counter on the center green block is the last launch trigger.

  • Block Out Level 125 is a fast U-frame board where a bottom launcher row feeds blocks upward into a U-shaped gap.
  • The side arms must thin to the blue `6` and `4` tiles before the launchers can fire β€” otherwise the gap overflows.
  • Break those counters, then spend the launcher row for a PERFECT clear.
  • The white `9` counter on the center green block is the last launch trigger.
Compare with the documented source board

My board is different Compare with source
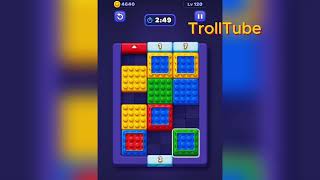
Video walkthrough

Quick tips

  1. Break the blue `6` counter before the blue `4` counter to keep the yellow base pair open.
  2. Do not touch the center red `17` launcher until both side counter tiles are gone.
  3. If the board feels stuck, look for the color with the cleanest path and use that to regain space.

Step-by-step solution

Step-by-step solution

  1. 1

    Move 1

    Shift the left-arm yellow/ green/ red stack downward with the far-left green up-arrow without touching the blue `6` tile.

  2. 2

    Move 2

    Mirror the right-arm orange/ red/ blue stack with the far-right green up-arrow, keeping the blue `4` counter parked.

  3. 3

    Move 3

    Break the blue `6` counter tile on the left arm once both side stacks are three blocks tall.

  4. 4

    Move 4

    Break the blue `4` counter tile on the right arm before the two yellow base bricks move.

  5. 5

    Move 5

    Spend the bottom launcher row β€” left red `25`, center red `17`, right green `25` β€” to feed the remaining blocks into the U gap.

  6. 6

    Move 6

    Clear the bottom `9` counter tile and the last red/ blue scraps through the center green arrow for the PERFECT clear.

Common failure points

Breaking the blue `4` counter before the blue `6` β€” this jams the yellow base pair permanently.

Shifting the center red `17` launcher before both side counter tiles clear, boxing both arms.

Sources

Sources

Verification status: source verified. Solutions are matched to the source board before publication.

FAQ

Why might my Level 125 board look different?

Game version, platform or staged rollout differences can change a board layout.

Should I use a booster?

This Variant records booster use as unknown. Match the board before treating that note as applicable.