full guide

Level 139

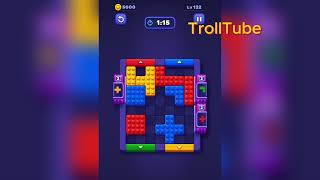
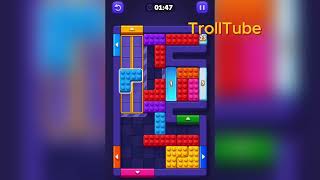
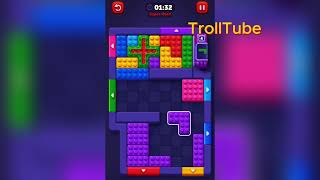
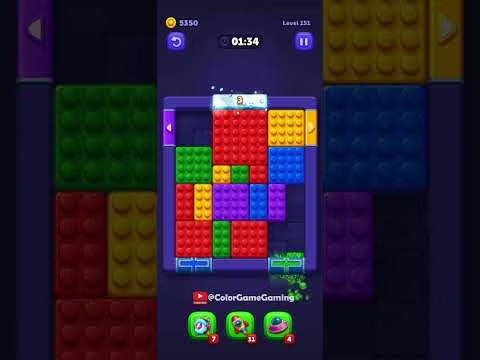
Block Out Level 139 is a Super Hard dual-tier board β€” a rainbow upper grid drains into a lower tier through paired down-arrows, feeding `17` and `13` purple tubes flanked by blue `4` side counters. The upper grid empties first, then the...

expert

ios / android Β· current iOS and Android catalog checked 2026-08-03

Purple Red Green Blue Yellow Orange Pink Cyan

Confirm these board landmarks

Block Out Level 139 is a Super Hard dual-tier board β€” a rainbow upper grid drains into a lower tier through paired down-arrows, feeding `17` and `13` purple tubes flanked by blue `4` side counters. The upper grid empties first, then the real puzzle begins: the lower tier's tubes gate each drop phase independently, and a green `1` tile at the bottom-left must wait until the border counters align.

  • Block Out Level 139 is a Super Hard dual-tier board β€” a rainbow upper grid drains into a lower tier through paired down-arrows, feeding `17` and `13` purple tubes flanked by blue `4` side counters.
  • The upper grid empties first, then the real puzzle begins: the lower tier's tubes gate each drop phase independently, and a green `1` tile at the bottom-left must wait until the border counters align.
  • The board mixes Purple, Red, Green and more.
  • The opening layout is a color-sort grid.
  • Clear matched tiles to finish the level.
Compare with the documented source board

My board is different Compare with source
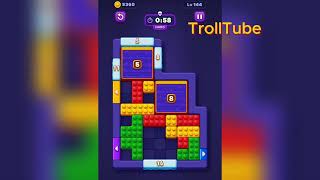
Video walkthrough

Quick tips

  1. Keep both blue 4 squares sealed until the upper grid is fully empty β€” spending either early locks the 17 tube.
  2. Clear the blue 1 bar at the top of the lower tier before touching the right-column red scraps.
  3. Think in chain clears. The best move is the one that sets up the next two moves, not just the quickest current match.

Step-by-step solution

Step-by-step solution

  1. 1

    Move 1

    Feed the top rainbow row down the red left down-arrow without splitting the yellow right pair on the upper grid.

  2. 2

    Move 2

    Clear the remaining upper-grid rows through the yellow right down-arrow until the top tier is fully empty.

  3. 3

    Move 3

    Spend both blue 4 side counters once the upper grid clears, unlocking the lower 17 tube.

  4. 4

    Move 4

    Break the lower blue 1 bar at the top of the bottom tier after the 17 counter hits zero.

  5. 5

    Move 5

    Clear the left-border 5/1/1 counters and the right-border 1/1 pair through the side lanes.

  6. 6

    Move 6

    Detonate the green 2Γ—2 cluster at the bottom-center and feed the last red/ pink right-column scraps for the SUPER HARD board clear.

Common failure points

Spending either blue 4 counter before the upper grid empties, locking the 17 tube above 9.

Clearing the right-column red scraps before the blue 1 bar breaks, re-sealing the 13 tube.

Sources

Sources

Verification status: source verified. Solutions are matched to the source board before publication.

FAQ

Why might my Level 139 board look different?

Game version, platform or staged rollout differences can change a board layout.

Should I use a booster?

This Variant records booster use as unknown. Match the board before treating that note as applicable.