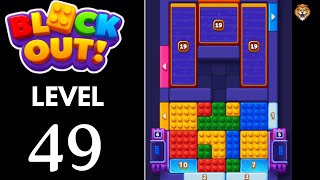
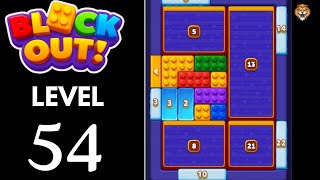
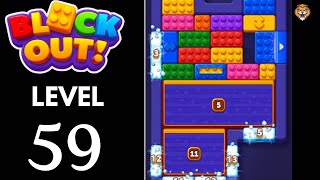
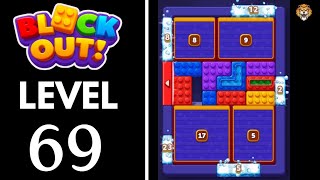
full guide

Level 39

Block Out Level 39 is labeled 'Super Hard' and is the first triple-boss board in Block Out. The layout is a 2Γ—2 grid: upper-left boss `14`, upper-right boss `21`, lower-right boss `4`, and a packed color mix in the lower-left. The `4` bo...

expert

ios / android Β· current iOS and Android catalog checked 2026-08-03

Green Yellow Blue Red Purple

Confirm these board landmarks

Block Out Level 39 is labeled 'Super Hard' and is the first triple-boss board in Block Out. The layout is a 2Γ—2 grid: upper-left boss `14`, upper-right boss `21`, lower-right boss `4`, and a packed color mix in the lower-left. The `4` boss opens the lower half, the colored blocks drain next, then the `14` falls before the `21`. Every phase depends on the one before it, and the ordering is absolute.

  • Block Out Level 39 is labeled 'Super Hard' and is the first triple-boss board in Block Out.
  • The layout is a 2Γ—2 grid: upper-left boss `14`, upper-right boss `21`, lower-right boss `4`, and a packed color mix in the lower-left.
  • The `4` boss opens the lower half, the colored blocks drain next, then the `14` falls before the `21`.
  • Every phase depends on the one before it, and the ordering is absolute.
Compare with the documented source board

My board is different Compare with source
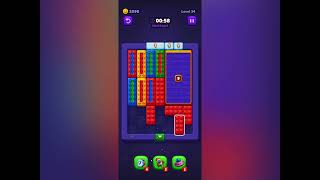
Video walkthrough

Quick tips

  1. Check the lower-right `4` counter before touching anything above it β€” if it is still alive, neither upper boss can move.
  2. The cascade is strict: `4` β†’ colors β†’ `14` β†’ `21`. No shortcuts.
  3. Think in chain clears. The best move is the one that sets up the next two moves, not just the quickest current match.

Step-by-step solution

Step-by-step solution

  1. 1

    Move 1

    Work the blocks around the lower-right `4` chamber first β€” shift adjacent colored blocks toward the bottom exits.

  2. 2

    Move 2

    Thin the colored blocks in the lower-left quadrant ( green, yellow, blue, red, purple) to create room for the `4` boss to collapse.

  3. 3

    Move 3

    Once the `4` counter drops to zero (around 01:47), use the freed lower-right space to accelerate the color drain.

  4. 4

    Move 4

    Start the upper-left `14` boss only after the lower half is mostly open β€” watch its counter drop through `10`.

  5. 5

    Move 5

    Keep the upper-right `21` boss parked while the `14` is still falling.

  6. 6

    Move 6

    Let the `21` boss begin its descent only after the `14` chamber has fully emptied and the upper roof is lighter.

  7. 7

    Move 7

    Finish with the last colored blocks and side counters after all three bosses are gone.

Common failure points

Splitting effort between all three bosses from the start β€” none reaches the critical threshold, and the board stalls because no single chamber gets enough room.

Attempting to reduce the `21` boss before the `14` has collapsed, which wastes the limited upper room on the larger counter.

Sources

Sources

Verification status: source verified. Solutions are matched to the source board before publication.

FAQ

Why might my Level 39 board look different?

Game version, platform or staged rollout differences can change a board layout.

Should I use a booster?

This Variant records booster use as unknown. Match the board before treating that note as applicable.