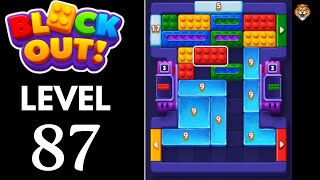
full guide

Level 89

Block Out Level 89 opens with a mixed top shelf over two stacked chambers. Strip that shelf first, drain the `6` chamber next, and then clear the keyed left lane plus the orange columns before the `11` chamber gives way to the red T-shap...

hard

ios / android · current iOS and Android catalog checked 2026-08-03

Purple Green Red Yellow Orange Blue

Confirm these board landmarks

Block Out Level 89 opens with a mixed top shelf over two stacked chambers. Strip that shelf first, drain the `6` chamber next, and then clear the keyed left lane plus the orange columns before the `11` chamber gives way to the red T-shaped endgame.

  • Block Out Level 89 opens with a mixed top shelf over two stacked chambers.
  • Strip that shelf first, drain the `6` chamber next, and then clear the keyed left lane plus the orange columns before the `11` chamber gives way to the red T-shaped endgame.
  • The board mixes Purple, Green, Red and more.
  • The opening layout is a color-sort grid.
  • Clear matched tiles to finish the level.
Compare with the documented source board

My board is different Compare with source
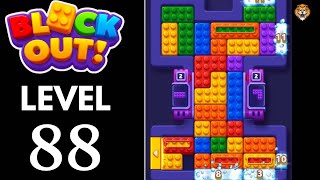
Video walkthrough

Quick tips

  1. If the top shelf still has live blue or green pieces, the `11` chamber is not ready.
  2. The keyed yellow lane on the left matters more than the raw `11` count.
  3. Think in chain clears. The best move is the one that sets up the next two moves, not just the quickest current match.

Step-by-step solution

Step-by-step solution

  1. 1

    Move 1

    Remove the mixed strips on the top shelf, especially the blue row and the green block on the upper-right.

  2. 2

    Move 2

    Start shrinking the upper `6` chamber only after the top shelf has stopped feeding blockers downward.

  3. 3

    Move 3

    Leave the lower `11` chamber alone until the `6` chamber is nearly gone.

  4. 4

    Move 4

    After the upper chamber opens the board, clear the keyed yellow lane on the left and shorten the orange columns around the center.

  5. 5

    Move 5

    Let the `11` chamber collapse only when the red T-shape and the two blue pools underneath it have room to separate.

  6. 6

    Move 6

    Finish with the red T-piece, the last orange column, and the remaining yellow L-block near the lower-left corner.

Common failure points

Touching the `11` chamber while the top shelf still has live blue or green traffic.

Ignoring the keyed left lane and trying to brute-force the lower half after the `6` chamber opens.

Sources

Sources

Verification status: source verified. Solutions are matched to the source board before publication.

FAQ

Why might my Level 89 board look different?

Game version, platform or staged rollout differences can change a board layout.

Should I use a booster?

This Variant records booster use as unknown. Match the board before treating that note as applicable.