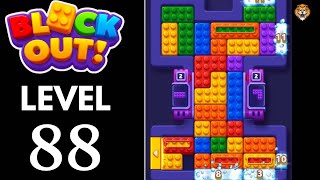
full guide

Level 92

Block Out Level 92 packs colored blocks (a green L-shape, an orange `7` counter block, a large red square, blue, yellow, and purple pieces with lock/key icons) into the upper section while two massive chambers fill the lower board β€” coun...

hard

ios / android Β· current iOS and Android catalog checked 2026-08-03

Green Orange Yellow Red Blue Purple Cyan

Confirm these board landmarks

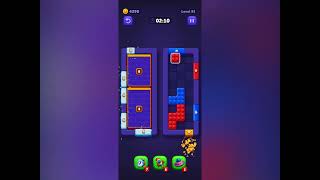
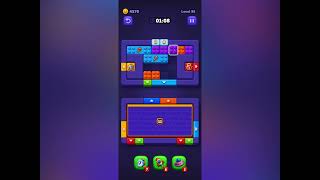
Block Out Level 92 packs colored blocks (a green L-shape, an orange `7` counter block, a large red square, blue, yellow, and purple pieces with lock/key icons) into the upper section while two massive chambers fill the lower board β€” counter `15` in a red frame on top, counter `10` in an orange frame below. Clear the upper section to open lanes, feed the `15` chamber first, sort the spill, then feed the `10` chamber.

  • Block Out Level 92 packs colored blocks (a green L-shape, an orange `7` counter block, a large red square, blue, yellow, and purple pieces with lock/key icons) into the upper section while two massive chambers fill the lower board β€” counter `15` in a red frame on top, counter `10` in an orange frame below.
  • Clear the upper section to open lanes, feed the `15` chamber first, sort the spill, then feed the `10` chamber.
  • The board mixes Green, Orange, Yellow and more.
  • The opening layout is a color-sort grid.
  • Clear matched tiles to finish the level.
Compare with the documented source board

My board is different Compare with source
Video walkthrough

Quick tips

  1. Clear the upper section as fast as possible β€” the two chamber feeds need all the remaining time.
  2. Remove the small cyan and green blocks in the border strip before starting the `15` chamber feed.
  3. Sort the spilled blocks immediately after the `15` chamber collapses, before they jam the `10` chamber lane.

Step-by-step solution

Step-by-step solution

  1. 1

    Move 1

    Slide the green L-shaped block in the top-left through the left-wall exit to open the first lane (02:54 in the video).

  2. 2

    Move 2

    Begin feeding the orange `7` block upward through the top exit β€” seven passes (02:49–02:39).

  3. 3

    Move 3

    Clear the lock/key pairs: remove the key blocks to unlock the blue pieces beside the large red square (02:44).

  4. 4

    Move 4

    Push the yellow block right through the right-wall exit, then extract the large red square block from the center (02:39).

  5. 5

    Move 5

    Clear the small cyan and green blocks in the border strip between upper and lower zones before they drift into the feed lane (02:34).

  6. 6

    Move 6

    Begin feeding the upper chamber (counter `15`) through its exit lane β€” keep this lane permanently clear for fifteen passes (02:29–02:15).

  7. 7

    Move 7

    After the `15` chamber collapses, immediately sort the spilled red, blue, green, and yellow blocks before they block the lower lane (02:10).

  8. 8

    Move 8

    Feed the lower chamber (counter `10`) through the bottom exits β€” ten passes to finish (02:10–02:00).

Common failure points

Starting the `15` chamber feed while the border strip still has small cyan and green blocks β€” they drift into the feed lane and stall the counter mid-pass.

Ignoring the spilled blocks after the `15` chamber collapses β€” they jam the `10` chamber's exit lane and force multiple recovery moves.

Sources

Sources

Verification status: source verified. Solutions are matched to the source board before publication.

FAQ

Why might my Level 92 board look different?

Game version, platform or staged rollout differences can change a board layout.

Should I use a booster?

This Variant records booster use as unknown. Match the board before treating that note as applicable.