full guide

Level 96

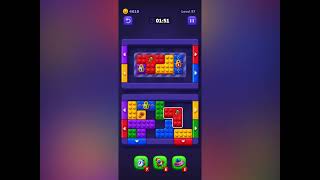
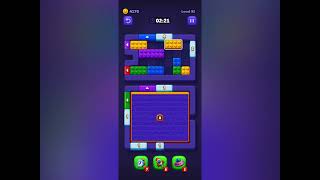
Block Out Level 96 is a pure density puzzle β€” no chambers, no frames, just wall-to-wall colored blocks of varying sizes. A tall red block with counter `12` divides the center like a wall, two large purple blocks (counters `9` and `5`) do...

hard

ios / android Β· current iOS and Android catalog checked 2026-08-03

Red Blue Green Purple Orange Yellow Cyan

Confirm these board landmarks

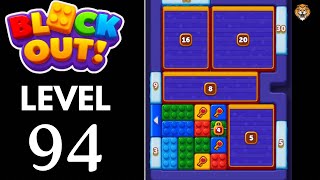
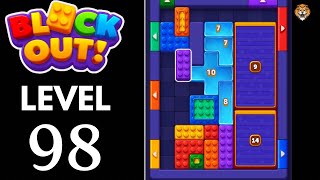
Block Out Level 96 is a pure density puzzle β€” no chambers, no frames, just wall-to-wall colored blocks of varying sizes. A tall red block with counter `12` divides the center like a wall, two large purple blocks (counters `9` and `5`) dominate the right half, and orange/green blocks fill the left. Clear the small counter-`1` edge blocks first for breathing room, unlock the gated green `3` block, then feed the large pieces through their nearest exits.

  • Block Out Level 96 is a pure density puzzle β€” no chambers, no frames, just wall-to-wall colored blocks of varying sizes.
  • A tall red block with counter `12` divides the center like a wall, two large purple blocks (counters `9` and `5`) dominate the right half, and orange/green blocks fill the left.
  • Clear the small counter-`1` edge blocks first for breathing room, unlock the gated green `3` block, then feed the large pieces through their nearest exits.
Compare with the documented source board

My board is different Compare with source
Video walkthrough

Quick tips

  1. Clear the small counter-`1` edge blocks first β€” each one creates room for the large blocks to shift.
  2. Unlock the green `3` block early by removing its yellow key β€” it gates the left-side path.
  3. The tall red `12` block divides the board like a wall β€” clear both sides of it before starting its feed.

Step-by-step solution

Step-by-step solution

  1. 1

    Move 1

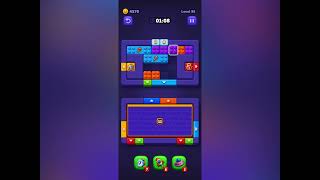
    Clear the small counter-`1` blocks around the edges: orange upward (top exit), yellow `1` rightward (right-wall exit), cyan `1` downward (bottom exit) β€” each creates breathing room (02:54–02:48 in the video).

  2. 2

    Move 2

    Push the yellow key block near the center through the right exit to unlock the gated green `3` block (02:42).

  3. 3

    Move 3

    Begin feeding the upper purple `9` block through the right-wall exit β€” nine passes (02:42–02:30).

  4. 4

    Move 4

    Clear the unlocked green `3` block through the left-wall exit now that the gate is open (02:30).

  5. 5

    Move 5

    Start feeding the tall red `12` block through the left-wall exit β€” twelve passes, keeping the left lane clear of debris (02:25–02:13).

  6. 6

    Move 6

    Feed the lower purple `5` block through the lower right-wall exit β€” five passes (02:13–02:07).

  7. 7

    Move 7

    Clear remaining orange, yellow, and blue blocks through their nearest exits as the board opens (02:07–02:01).

  8. 8

    Move 8

    Finish with the last small blocks at the bottom once the board is mostly open (01:56).

Common failure points

Starting the tall red `12` block feed before clearing the small debris on the left side β€” it stalls mid-feed and traps the orange and green blocks behind it.

Ignoring the locked green `3` block's key early on β€” the key block must exit before the green block can move, and leaving it late creates a bottleneck.

Sources

Sources

Verification status: source verified. Solutions are matched to the source board before publication.

FAQ

Why might my Level 96 board look different?

Game version, platform or staged rollout differences can change a board layout.

Should I use a booster?

This Variant records booster use as unknown. Match the board before treating that note as applicable.