full guide

Level 67

Block Out Level 67 splits the board into upper and lower halves connected by maze channels, with a framed keystone block (counter '1') sitting in the center junction. The upper half holds a mix of green, purple, yellow, blue, and red blo...

medium

ios / android Β· current iOS and Android catalog checked 2026-08-03

Green Purple Yellow Blue Red Cyan

Confirm these board landmarks

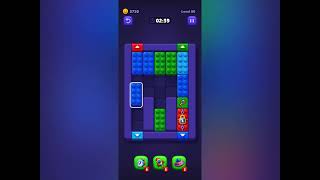
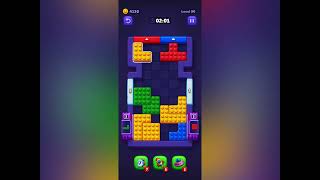
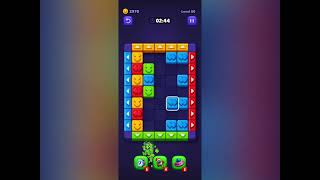
Block Out Level 67 splits the board into upper and lower halves connected by maze channels, with a framed keystone block (counter '1') sitting in the center junction. The upper half holds a mix of green, purple, yellow, blue, and red blocks. The lower half has three tall cyan blocks with counters '8', '3', and '3'. Remove the keystone first to connect both halves through the maze, then clear the upper colored blocks, and finally feed the tall cyan blocks through the channels to the bottom exits.

  • Block Out Level 67 splits the board into upper and lower halves connected by maze channels, with a framed keystone block (counter '1') sitting in the center junction.
  • The upper half holds a mix of green, purple, yellow, blue, and red blocks.
  • The lower half has three tall cyan blocks with counters '8', '3', and '3'.
  • Remove the keystone first to connect both halves through the maze, then clear the upper colored blocks, and finally feed the tall cyan blocks through the channels to the bottom exits.
Compare with the documented source board

My board is different Compare with source
Video walkthrough

Quick tips

  1. The keystone block with counter '1' is the cheapest move on the board β€” always clear it first.
  2. Clear all upper colored blocks before routing the tall cyan blocks through the channels.
  3. If the board feels stuck, look for the color with the cleanest path and use that to regain space.

Step-by-step solution

Step-by-step solution

  1. 1

    Move 1

    Clear the framed keystone block (counter '1') in the center β€” it connects the two halves.

  2. 2

    Move 2

    Extract the green block from the upper-left through the left exit.

  3. 3

    Move 3

    Pull the blue and red blocks at the top through their exits.

  4. 4

    Move 4

    Slide the purple/ magenta block out once adjacent space opens.

  5. 5

    Move 5

    Route the first tall cyan block (counter '8') through the maze channels to the bottom exit.

  6. 6

    Move 6

    Feed the remaining two cyan blocks (counter '3' each) through the channels.

Common failure points

Ignoring the keystone block and trying to move upper blocks first β€” the halves stay isolated.

Routing a tall cyan block before the upper section is clear, which blocks the channels for everything else.

Sources

Sources

Verification status: source verified. Solutions are matched to the source board before publication.

FAQ

Why might my Level 67 board look different?

Game version, platform or staged rollout differences can change a board layout.

Should I use a booster?

This Variant records booster use as unknown. Match the board before treating that note as applicable.